Creating new Recommendations
Creating a new recommendation
You can create as many recommendation buckets as you like. You can select from Home Page, Category/Collection Page, Product Page, and Checkout/Cart Page. Each of these buckets has different Recommendation Logic algorithms.
The key thing to remember is that you need to add each recommendation bucket to your Magento website—it doesn't happen automatically. For example, if you select Home Page, you need to copy this code onto your Home Page.
1. Creating the recommendation on the Klevu side
The first thing is to select the page type. This drives which algorithms are available.
Our favorite combinations are:
- Home Page: Trending Products, Newest Arrivals
- Category/Collection Page: Trending Products for You, Newest Arrivals
- Product Page: Others Also Viewed, Also Bought Together
- Checkout/Cart Page: Also Bought Together
But what about Hand Picked Products? You are probably just as well served by inserting a Product List through PageBuilder.
The design: choose a title for your recommendation. We will discuss creating new Recommendation Designs. If you are new to Klevu, you may have to go the Templates section on the left sidebar, edit Klevu Default Template and click Save & Publish. You can select how many products to show and how many products must be present before the entire box is visible.
Filtering products
The Filter section has two functions:
- you can put guardrails on which products Klevu shows in a recommendation
- or, you can hide product recommendations.
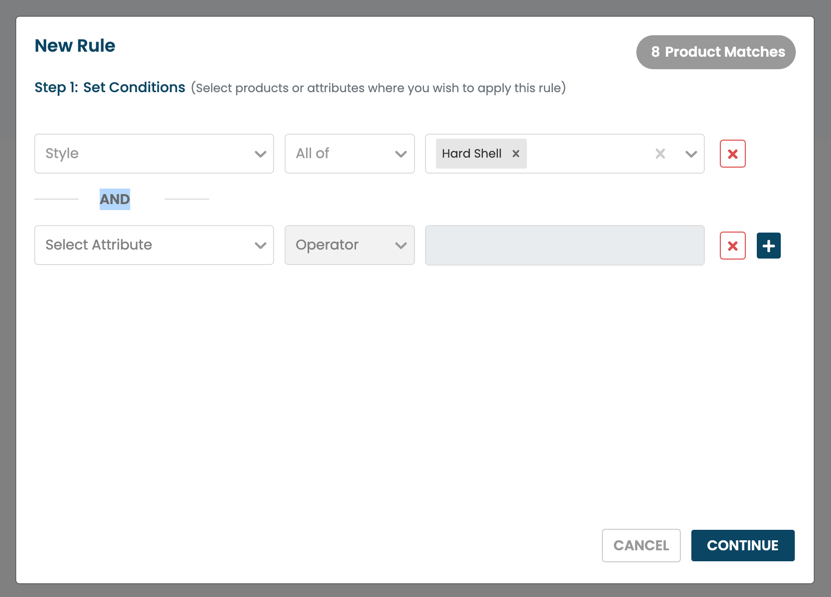
Look at it this way, "Step 1: Set Conditions" in the filter selects which products/categories that show this recommendation. "Step 2: Set Action" is what should happen to this recommendation on this page.
Step 2:
Setting guardrails: set the action to "Filter Products". Thus, you can Include or Exclude products that have matching attributes. You can also select products to pin or products to exclude.
Hiding recommendations: just select this action. That's it. This Recommendation will be hidden if it's displayed on products or categories matching the criteria in Step 1.
Finally...
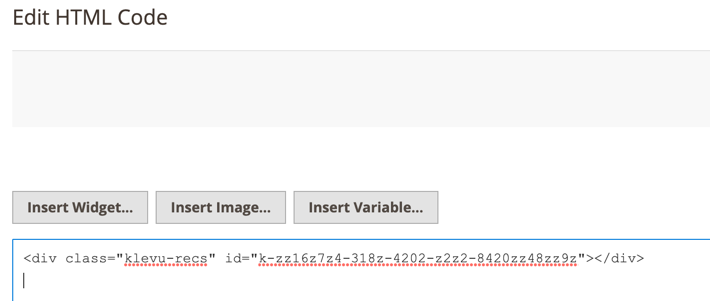
Now that you have your Recommendation configured, head to the Recommendation tab and you'll see an HTML snippet like this:
<div class="klevu-recs" id="k-zz16z7z4-318z-4202-z2z2-8420zz48zz9z"></div>Take this code into the next step.
2. Adding on the Magento side
The basic idea is you need to add this to your Magento website. You will likely want to have your developer involved to ensure it looks and fits properly on your website. We will demonstrate the easiest ways to add these recommendations.
CMS Block + a Widget
The CMS Block You know all about widgets at this point. We will leverage this to show Klevu's product recommendations on multiple pages on our website.
Create a new CMS block and use PageBuilder to inject an HTML Code item:
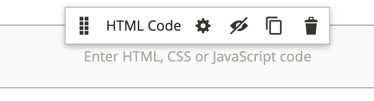
It should look like this:
I recommend using CMS blocks to host all Klevu Product Recommendation widgets. If you do this, naming is incredibly important. Thus, I suggest this format:
- Klevu
- [Recommendation name]
- [Page Type]
One example would be:
Klevu - Shirts Trending - Product Page - Also Bought TogetherThis is somewhat verbose, but it ensures you'll find the appropriate snippet later. The Identifier field is generally the same content but with no spaces or dashes and _ (underscore) to separate words.
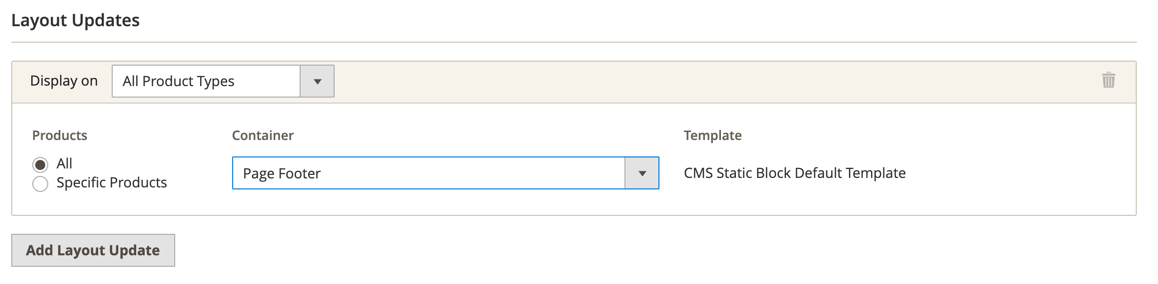
The Widget Navigate to Content > Widgets and create a new Widget. Select the CMS Static Block type. I suggest giving the widget a title that describes the location that this widget will target.
Select the product filters you feel are beneficial: